Feel Me Music Video Breakdown
The effect that we were trying to achieve for this music video was to make it feel “other-worldly”. Daytime and Night time light were to be represented by different colours to make them feel strange. The challenge was to create a distinct look and experiment with bold colours.
Artist: Malakai @officialmalakai
Director: @lemontreethedirector
The LightBox
When I knew that we were creating a lightbox look, the first question I had was how large the room was. I knew that we needed to have diffused light from above but when working on a budget, I had to know if it was possible to have the proper lights in a top-down position.
The 2nd dilemma was how to diffuse the light. My first stop was to IKEA to search for a shower curtain. I landed on buying the Hilja Curtain set and sewed the two sides together to create a material 3m x 2.5m for $20. In other scenes of the music video, we used the material as practical curtains.
IKEA’s Hilja Curtains suspended using 4 C-stands
Example of curtain as a practical. A 2K Blondie was shone onto the room from outside to create the look.
Example of curtain as a practical. The shadow of the Blondie can be seen projected onto the material as we shot while the sun was going down.
In the studio, I set the white balance of the camera to -50 to introduce more green into the image and pushed 2x Aputure 120D II LED lights through the material with Plus green gels. Since we couldn’t hang anything from the ceiling, we rigged the material onto 4 C-stands and raised it to a meter headspace. I wanted to bring it as close to the subject as possible to give the most wrap.
Instead of bouncing the lights into the ceiling, we pushed it directly onto the material so that the spots of light would be more concentrated above him like a single source. Bouncing it off the ceiling made the light spill everywhere and reduce our contrast. Ideally, skirts around the diffusion would allow us to create a more distinct look by focusing downwards and reducing spill. A 2ft Nanguang RGB tube light was attached to a stand as a kicker/ backlight.
The only issue I had with this set-up was the limited space I had with moving the camera. Shooting side on or at a slight angle was impossible with the back stands appearing in frame. This resulted in tighter shots than I would have liked and I could also only shoot front on for most of it.
The Lightbox Set-up
Sunrise in the Bedroom
The Bedroom scene was the most complicated set-up during pre-production to plan. I knew that I had to make Green moonlight mixed with a rising orange sunrise. With the layout of the bedroom and being on the 2nd floor, there was no way I could have put stands outside the window which complicated it even more. All the light sources came from outside the room and through the 2 windows to create the pattern on the back and his backlight.
Unfortunately, I forgot to take pictures of the set-up during this scene as we were rushing to put it together. The solution we came up with to tease the green moonlight into the room was to place 2 RGB tube lights on C-stand arms over the balcony and facing into the room.
Pre-production Lighting Plan for Bedroom Scene
The original idea was to light the orange sunrise ambient from inside the room as you can see from the placement of Light 2. But that moved on the day to position 3 where I originally had blacks. We were essentially lighting the actors from the same direction with the risk of underexposing the otherside of the room. Fortunately the bounce from the lights helped give enough exposure for the scene and we just needed to add a extra small light for fill on the main subjects in frame.
A single Aputure 120D II light with double CTO was used as the rising sun but at an angled direction into the room. This caused it to hit the backwall and the girl at the back but not the main talent. Shooting the light to the back of the room created sharp line patterns which separate the foreground from the background and gave us a very interesting pattern. Green and Orange are complementary colours so they mix well together. This scene was perhaps the best surprise of the day as the result turned out much better than anticipated.
Night Time in the Bedroom
For the opposite time of day I had to create a blue interior look together with green moonlight. This set-up was incidentally alot simpler than the sunrise as we just pushed the Aputure 120D II with Double CTB into a 5 x 5 butterfly frame with Full Diff. The green moonlight which was left in the same place served as a backlight and to give colour contrast to the windows.
A factor which I tried to downplay as it was a music video was to find lighting motivations. I was more loose on accepting where and how the light was introduced to the scene. As it was for a music video I felt that a more visually appealing look would dictate the style rather than an accurate source of light. In this bedroom, there is no clear motivation for where the blue interior lighting is from but it does not detract from the scene. Rather, it creates a stark contrast from the Sunrise look and that was what we were aiming for.
The Studio
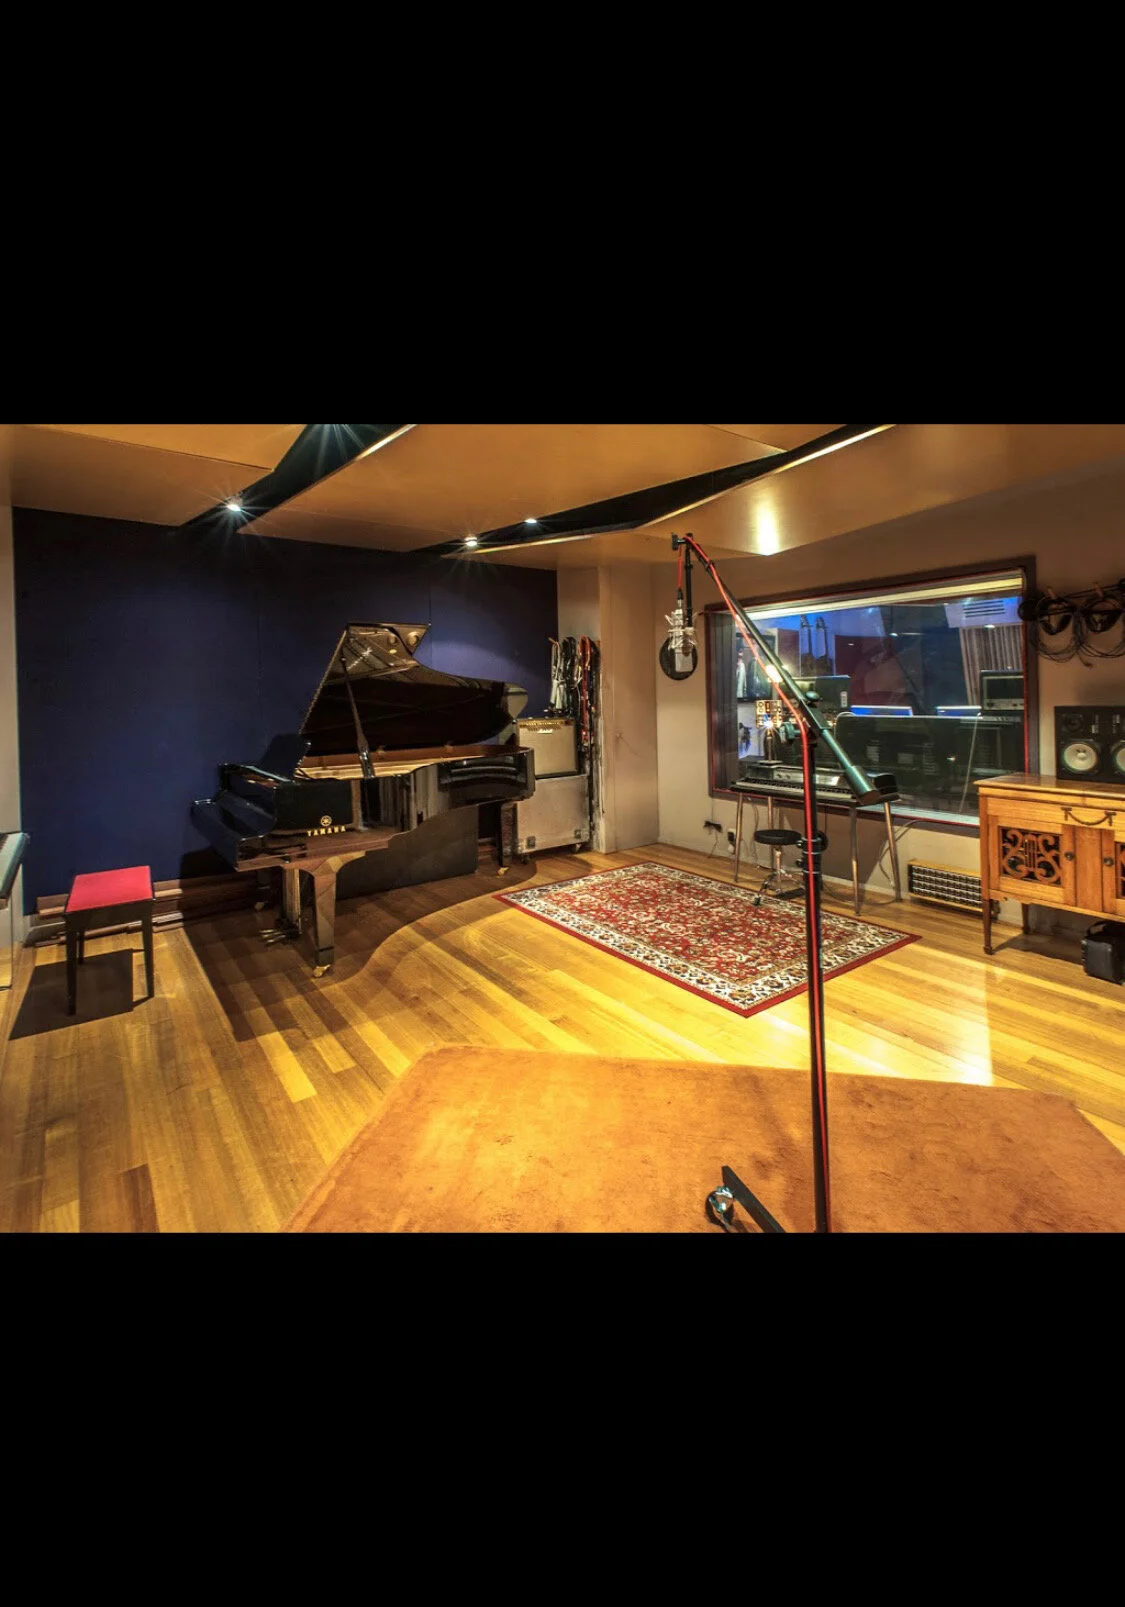
The location was typically lit with warm downlights to create a bright atmosphere. We wanted to turn it blue and have a much more stylized look to it. The first thing I got my gaffer, Ian Vandermey - http://ianvandermey.com/, to do was to gel the top lights to see if the existing fixtures would give us a starting ambient tone to work with. The mixing booth luckily had blue accent lighting already integrated which allowed us to work around it.
The location originally had multiple warm downlights which we switched off for this scene.
The built in accent lighting already had hints of blue which helped us create our look alot easier.
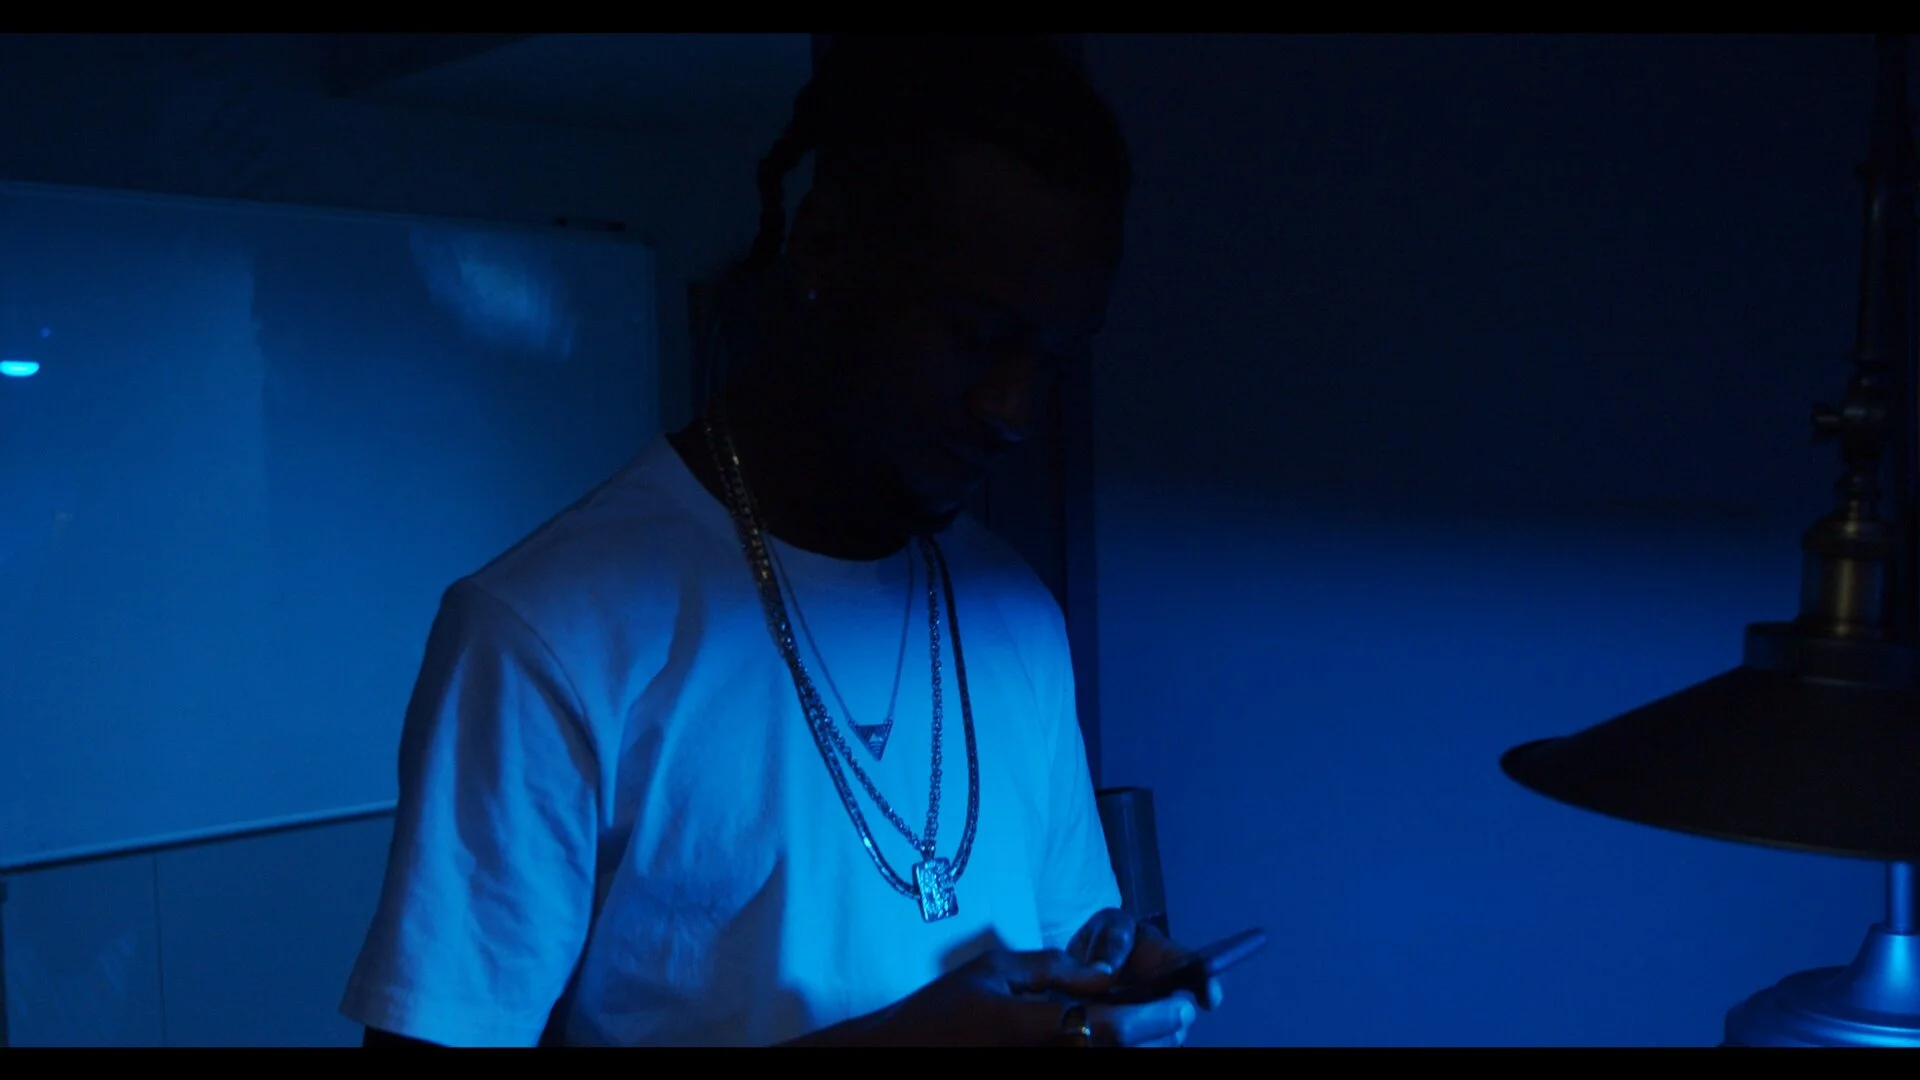
In the end we switched off all the downlights anyways and super clamped a Luxi Cello to the top of the roof in the recording booth to give Malakai an edge light. We key-lit him with an Aputure 120D II with a mini-dome and double CTB gel. It was a very simple set up using just 2 light fixtures that gave us a very stylized look. Instead of balancing the scene to the skin, I balanced the brightness of the shirt 2 stops above middle gray and that allowed me to bring the details back in post. My concern was underexposing the face because of his darker skin tone but what made a whole difference was asking him to wear a white shirt rather than a black one which he was originally intending to do. The different tones of blue used to backlight and key light him also contributed greatly to give the shot more depth and interest.
The design of the mixing booth was done almost entirely with practicals. The 2 lamps in the frame gave us the majority of our look and exposure by allowing us to change the bulbs to the right colour. We were lucky that they came with the location. The monitors were the 2nd biggest contributors as they gave us the exposure required. The warm downlights were again gelled with CTB to further enhance the colour. When we wanted to shoot away from the recording booth we turned the Aputure light to shine into the mixing booth to add a touch more to the levels. When checking exposure of the silhouette below I exposed to the monitors as they gave us the most information and detail. It could be scary when seeing your main subject being severely underexposed on the monitor but I knew that the reflections in his skin and shirt would give us a definition to his shape so not everything would be lost. Additionally, it might seem like an unnoticeable detail but I purposely lifted one lamp above the other to create a slight imbalance in the white points on the screen. This would hopefully keep the frame a little more interesting.
A Lesson Film lighting
Original look without changing set-up
Enhanced look with additional lights
This problem presented itself to me after we did the first take of this shot. When Malakai moved into the corner of the room away from the main light on his right and proceeded to text on the phone, his head was just above the reach of the bulb from the lamp in the shadows. The background was also a similar level to the foreground which didn’t give us a healthy separation. I initially lit the background hallway with the Aputure light - you can see it’s oval reflection in the whiteboard behind him. However, upon seeing the blocking and realising that we’d lose his entire head to the shadows I brought the Aputure 120D setup to focus into the corner so that there would be some reflections on his skin to help separate him from the background. Another LED panel was used to spot the background and create a stronger backlight. In the 2nd photo, you can see the shape of his face is perfectly backlit, giving us a pleasing separation while also making the frame look alot more nuanced but also quite natural.
Shadows on the wall
Setting up this shot took about an hour. We had to find objects that helped break up the plain white wall and allow us to cast a distinct shape onto the wall. The issue we had when planning for this scene was the distance at which the light had to be away from the actors and the wall in order to not get a feathered shadow. Even in this image the shadows are more feathered than we would’ve liked. We placed a 2K Blondie about 10m away with no modifiers and just opened it up so that the spill looked like the sunset. The arrangement of the objects and actors in the scene was unnatural but allowed us to place the shadows where we wanted them to be.
The placement of objects and actors in the location was unnatural but essential to the shadow positions
Blankets were laid on the floor to prevent the reflection of the light on the floor to create a double shadow on the wall.
The link to the music video will be posted here once it has been edited and released.


